Guild Bosses
Last Edited on : Jan 19, 2026, 10:06 (UTC+3)
The guild-summoned bosses are Khan, Ferrid, Giant Mudster, Org, and Moghulis.
These bosses can be called forth by collecting Summon Scroll Pieces earned from completing specific guild quests.
(Only the Guild Master, Staff, and Advisor may perform the summon.)

Once you’ve gathered every piece, a summon interface will appear, letting you set the difficulty, locate the site, and begin the summoning.
① Difficulty Settings: Choose the difficulty you want. This can only be set while standing at a valid summoning location.
② Find Location: Shows where the boss may be summoned.
Example: For Khan, it will guide you to Oquilla’s Eye.
③ Summon: You can only summon the boss while at the proper summoning location.
"Eye of the Great Ocean" Khan
From the Guild (G) menu under the Summon Guild Boss category, you may summon Khan once per week. Only one Khan can exist per server at a time. Once summoned, Khan will vanish after 30 minutes, whether you fight him or not.
To defeat Khan, you’ll need a [Guild] Monsterbane Cannon Assembly Kit and [Guild] Monsterbane Cannonballs. You can exchange these from a Guild Manager NPC or purchase them with Guild Funds in the Guild Shop.
|
Required Item |
Exchange Item |
|
Old Moon Combat Seal x1 |
[Guild] Monsterbane Cannon Assembly Kit x1 |
|
[Guild] Monsterbane Cannonball x10 |
|
|
Old Moon Life Seal x1 |
[Guild] Monsterbane Cannon Assembly Kit x1 |
|
[Guild] Monsterbane Cannonball x10 |
※ The [Guild] Monsterbane Cannon will be destroyed after 30 minutes, or if Khan smashes it. If the cannon is destroyed, every cannonball loaded inside will be lost, so handle it with care.
Unlike ordinary cannons, the [Guild] Monsterbane Cannon can spend points to use Overcharged Shot and Rapid Fire.
|
Firing Methods |
Details |
|
Normal Fire |
Works like a standard cannon shot, but with a shorter recharge time than a normal cannon. Each shot also builds up points. |
|
Overcharged Shot |
Takes longer to fire and longer to recharge than Normal Fire. Deals higher damage, and if used after building stacks, it can hit for massive damage. |
|
Rapid Fire |
After building stacks, press X to switch into Rapid Fire. In Rapid Fire, the cannon loads faster and can fire in quicker succession. Firing normally while in Rapid Fire still builds stacks as usual. |
Notes & Tips
|
1. During Khan’s attacks, his lightning will prioritize the adventurer who has dealt the most damage to him. 2. Khan will summon Black Crystal Seaweed mid-fight. If you don’t destroy it first, the battle can quickly become overwhelming. 3. When Khan prepares a powerful attack, a warning message will appear. Use the surrounding terrain to avoid the blow as best you can. |

Black Crystal Seaweed is protected by Protty monsters. Destroy the seaweed, and the Protty will vanish with it.
If you defeat the Black Crystal Seaweed, you can obtain [Guild] Black Crystal Cannonballs, which are far stronger than [Guild] Monsterbane Cannonballs. Used well, they make subjugating Khan much easier.
Fail to destroy the Black Crystal Seaweed and “Eye of the Great Ocean" Khan will recover HP.
Defeating Khan can reward ship upgrade materials needed for ocean exploration, along with rare treasures said to be born of the sea itself. Most importantly, you can obtain Khan’s Concentrated Magic, which is used to craft “Khan’s Heart.”

|
|
Khan’s Heart: Destruction |
Khan’s Heart: Protection |
Khan’s Heart: Life |
|
Simple Alchemy |
Khan’s Concentrated Magic x1 Alchemy Stone Shard x400 Magical Shard x200 Trace of Nature x100 Destruction Spirit Stone x1 |
Khan’s Concentrated Magic x1 Alchemy Stone Shard x400 Magical Shard x200 Trace of Nature x100 Guardian Spirit Stone x1 |
Khan’s Concentrated Magic x1 Alchemy Stone Shard x400 Magical Shard x200 Trace of Nature x100 Life Spirit Stone x1 |
Ferrid

Ferrid can be summoned in Omar Lava Cave.
His patterns include a forward AoE stun, Lava monster summons, and a ranged double-hit Knockdown attack, though most of his offense is built around basic attacks.
For an easier fight, strike Ferrid from behind. If you attack from the front, you’ll be far more vulnerable to his Stun, making it difficult to keep up your damage.
Also, after Ferrid performs the motion of slamming the ground with his fists, the Lava Tribe will be summoned.
Obtainable Items
| Stone of Malice | Resplendent Lightstone of Fire | Advice of Valks (+50/60/70/80/90/100) |
| Rebellious Spirit Crystal | Black Spirit Crystal | Valtarra Spirit’s Crystal |
| Awakened Spirit’s Crystal | Magic Crystal of Infinity Box | Mass of Pure Magic |
| Black Stone | Gold Bar 1,000G | Gold Bar 100G |
| Gold Bar 10G | Marni’s Unstable Fuel | Energy of All Creations (all 4 types) |
| Secret Book of the Forgotten Adventurer | Resplendent Lightstone of Fire/Earth |
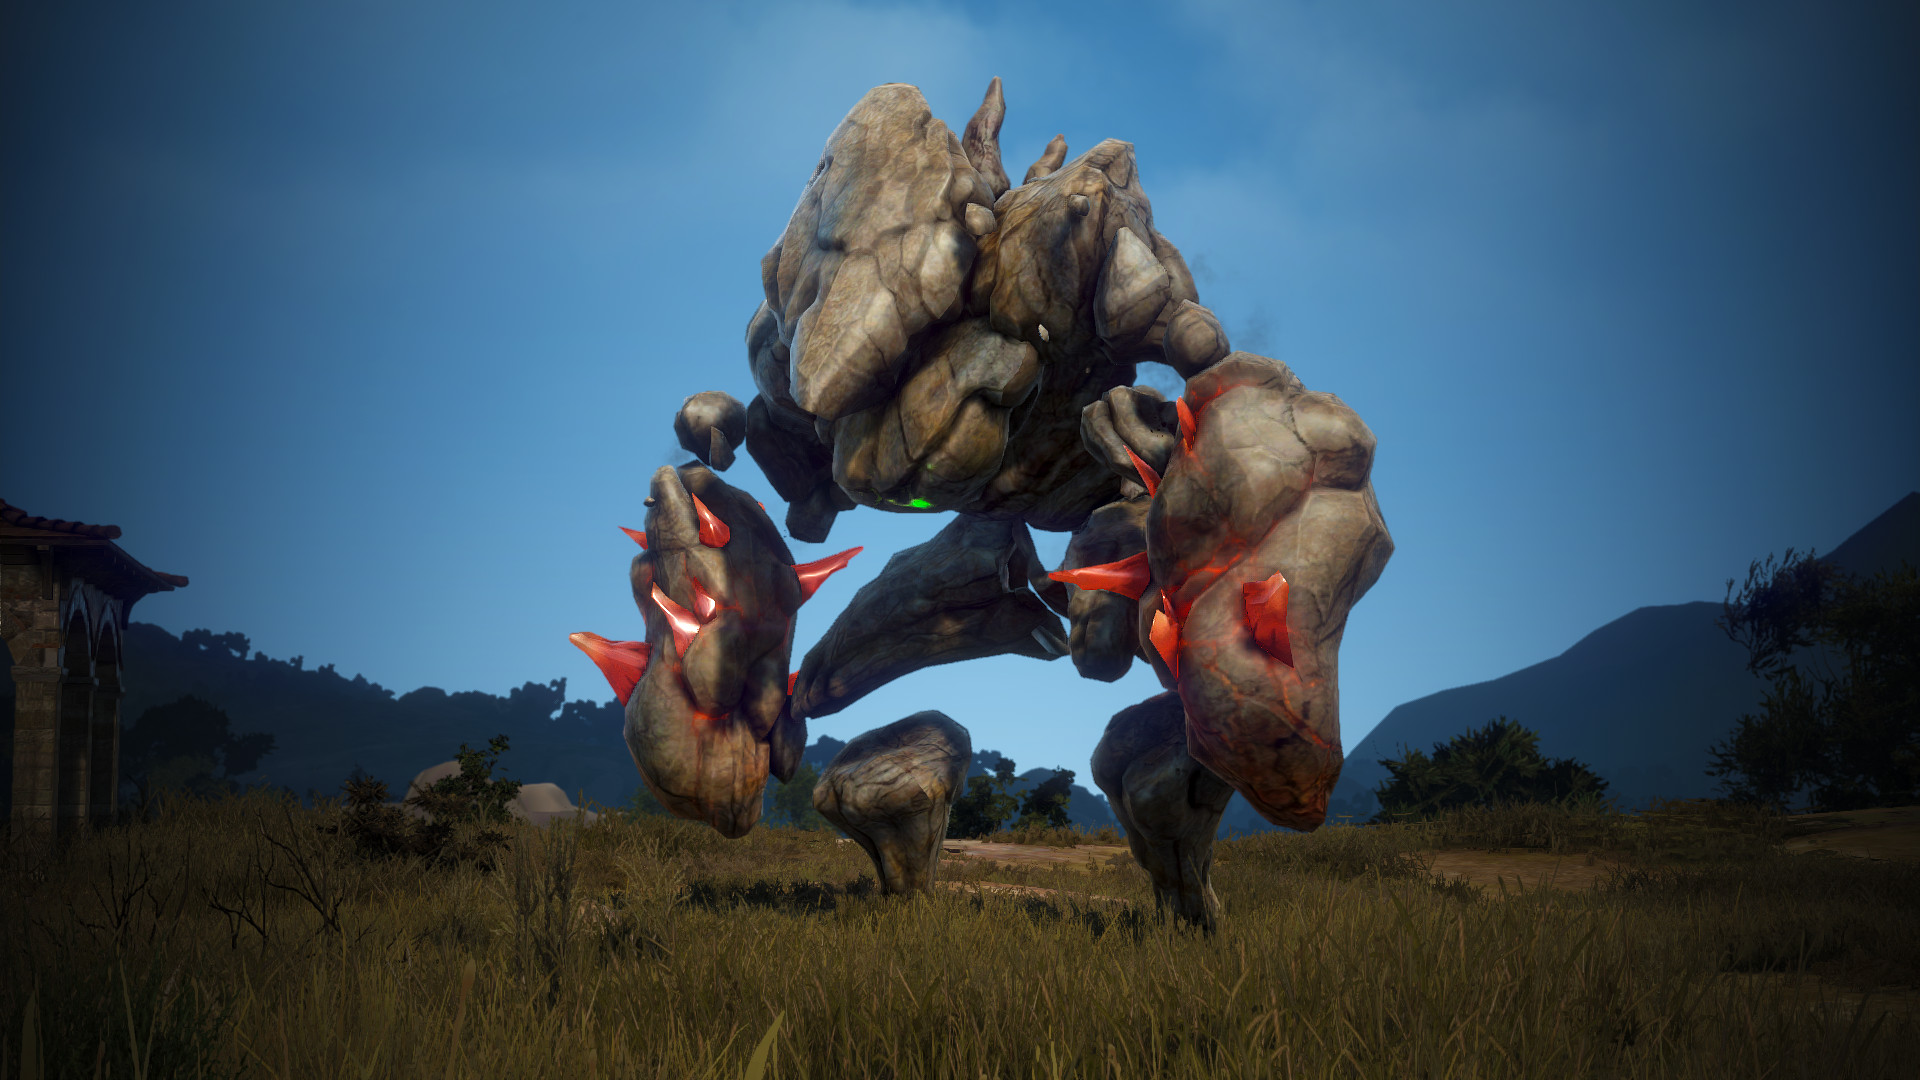
Giant Mudster

The Giant Mudster can be summoned at Glish Ruins.
It is slow, but its attacks are wide-reaching and brutally strong, and it can reduce the target’s Movement Speed and Attack Speed. Once struck, your actions become painfully sluggish, so avoiding damage is the surest path to a swift victory.
Most of its powerful attacks begin when it suddenly “shrinks.”
- If it shrinks with no other sign, it will charge straight at its target. Step out of its path to reduce the damage.
- If it scatters mud around and then shrinks, it will summon small Mudsters. These will explode after a short time, so defeat them quickly or evade to a safe distance.
Its most dangerous pattern is when it causes Stiffness to nearby characters while standing in place, then suddenly shrinks. Afterward, spikes burst from the ground, dealing heavy, continuous damage. This must be evaded or blocked.
If you fail to evade and get caught in Stiffness, use Emergency Escape (V) to avoid the follow-up hits.
Obtainable Items
| Stone of Malice | Resplendent Lightstone of Fire | Advice of Valks (+50/60/70/80/90/100) |
| Rebellious Spirit Crystal | Black Spirit Crystal | Valtarra Spirit’s Crystal |
| Awakened Spirit’s Crystal | Magic Crystal of Infinity Box | Mass of Pure Magic |
| Black Stone | Gold Bar 1,000G | Gold Bar 100G |
| Gold Bar 10G | Marni’s Unstable Fuel | Energy of All Creations (all 4 types) |
| Secret Book of the Forgotten Adventurer | Resplendent Lightstone of Fire/Earth |
Org

Obtainable Items
| Stone of Malice | Resplendent Lightstone of Fire | Advice of Valks (+50/60/70/80/90/100) |
| Rebellious Spirit Crystal | Black Spirit Crystal | Valtarra Spirit’s Crystal |
| Awakened Spirit’s Crystal | Magic Crystal of Infinity Box | Mass of Pure Magic |
| Black Stone | Gold Bar 1,000G | Gold Bar 100G |
| Gold Bar 10G | Marni’s Unstable Fuel | Energy of All Creations (all 4 types) |
| Secret Book of the Forgotten Adventurer | Resplendent Lightstone of Fire/Earth |
Moghulis
Obtainable Items
| Stone of Malice | Resplendent Lightstone of Fire | Advice of Valks (+50/60/70/80/90/100) |
| Rebellious Spirit Crystal | Black Spirit Crystal | Valtarra Spirit’s Crystal |
| Awakened Spirit’s Crystal | Magic Crystal of Infinity Box | Mass of Pure Magic |
| Black Stone | Gold Bar 1,000G | Gold Bar 100G |
| Gold Bar 10G | Marni’s Unstable Fuel | Energy of All Creations (all 4 types) |
| Secret Book of the Forgotten Adventurer | Resplendent Lightstone of Fire/Earth |